Hello everyone!
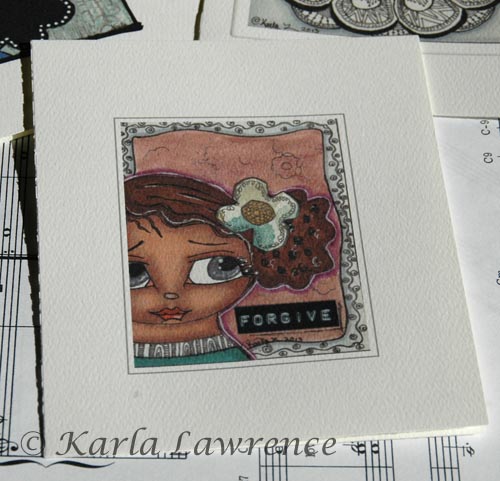
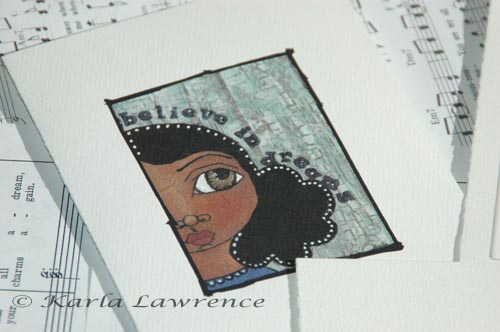
I just wanted to post a few ACEOs I completed today.
I just wanted to post a few ACEOs I completed today.
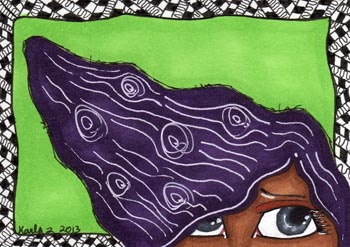
That's all for now!
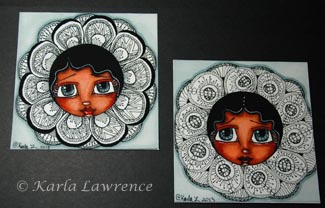
|
|
|
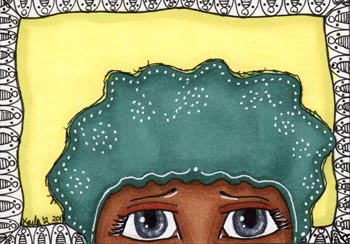
Hello everyone! I just wanted to post a few ACEOs I completed today.
That's all for now!
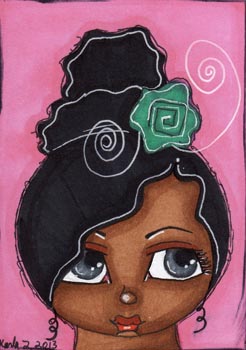
Hi everyone! I just wanted to pop in and share a couple of pieces that I've been working on this week. 
"Girl With Red Balloon" 7.5"x9.5" mixed media piece
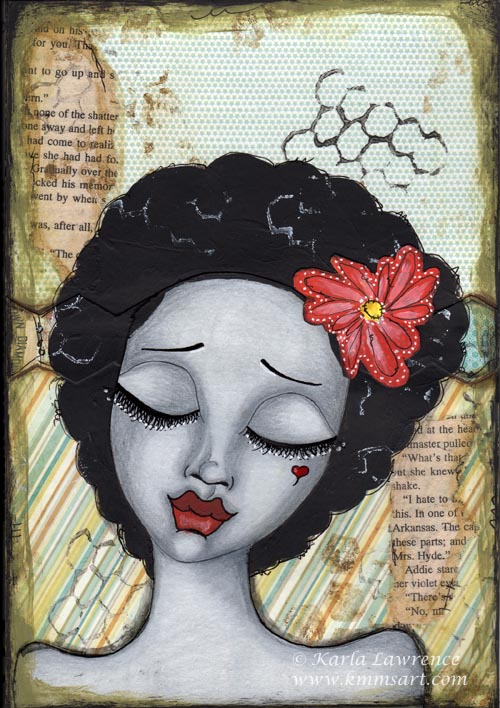
"Red Flower Afro Girl" 6"x8.5" mixed media piece
I wanted to get back into some more practice with my mixed media backgrounds. They have different energy, but I think they turned out pretty cool! The first one was done very simply with a textured background (created using coffee filters and a few layers of acrylic to create some depth), and a girl with a red balloon. I've been doing some of my face shading with prismacolor pencils and really am enjoying the results.
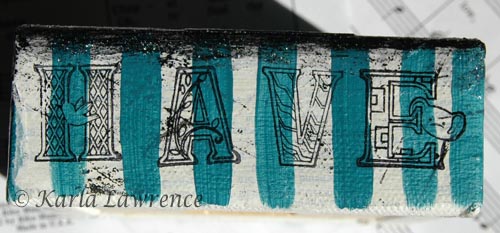
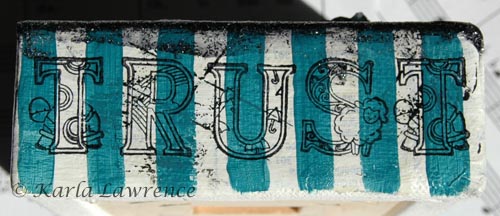
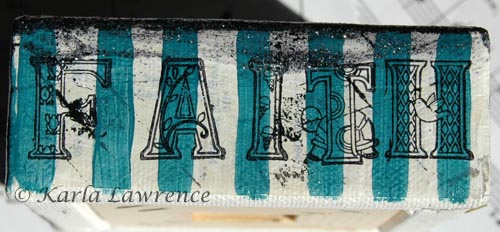
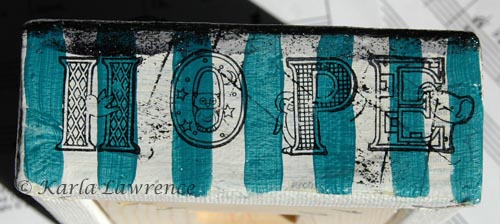
The second one was created using some of the layering I learned in the Whimsey Girls class, with my own spin on it. I love creating black and gray faces with just one additional color and created this one with a mix of the copic and prismacolor pencils again. I used this adhesive, which I felt did a really good job and was very affordable and Michaels (It was less than what's listed on Amazon). Once you've coated your work with the adhesive it dries to a non-tacky surface which is good. The thing is, you have to plan your layers well, because certain products won't work over the adhesive. I was unable to go back in with the prismacolors, but pen worked and acrylic paint worked well. Both pieces are available as prints for $20 each and will look beautiful matted and framed to the 8"x10" size. If you would like to purchase a print of one (or both!), please just complete this form! Let me know what you think! Happy Friday everyone! I just wanted to share the first couple of canvases I completed from the Whimsey Girls workshop that I'm taking. Here they are: 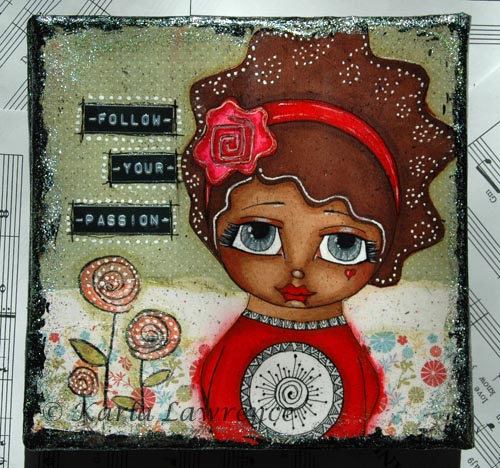 "Follow Your Passion" 6"x6" mixed media canvas. 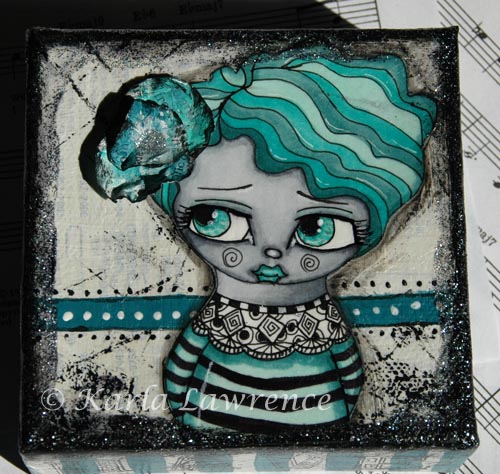 "Have Hope" 4"x4" deep-edge mixed media canvas. I had so much fun making these and they are both so different. The girl were colored using copics along with black pen for the pattern work on her shirt. For "Follow Your Passion" I used scrapbook paper from My Mind's Eye and then followed the technique for creating the layers taught in the class. I found that by spraying a workable fixative (I use this one) I was able to get minimal to no bleeding from the markers when I applied the images to the canvas! For "Have Hope", which I created on a smaller canvas, I decided to try combining some techniques I've used in the past to see what would happen. I created the background using the same technique I used to create "Jazzy Belle" and "Infinity" (which you can see here): old yellow pages, gesso, black acrylic paint, and original stencil for texture. I created the flower in the same way I did for my first ACEO collections which you can see here. I decided to use some new letter stamps to place the message on the border of the canvas which you can see below.
And here are a couple of more shots of both pieces. 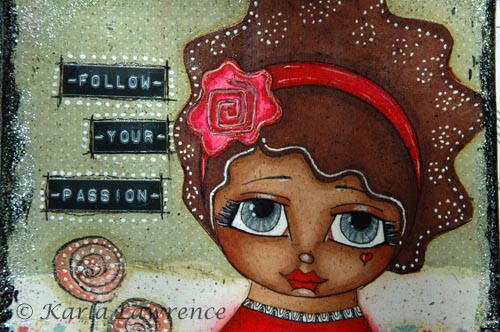 "Follow Your Passion" detail 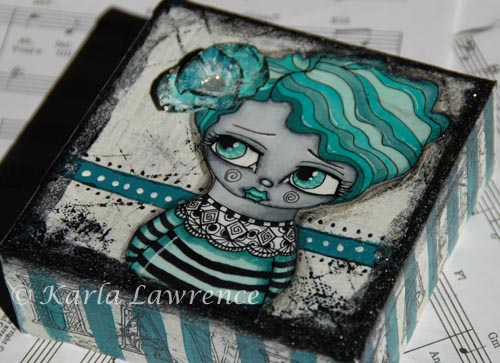 "Have Hope" I hope you enjoy and have a blessed and creative day. :)
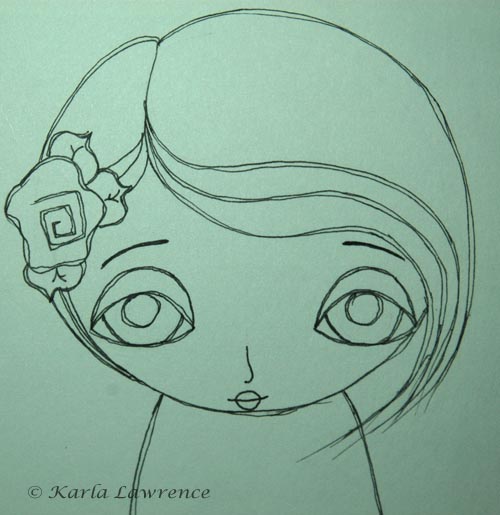
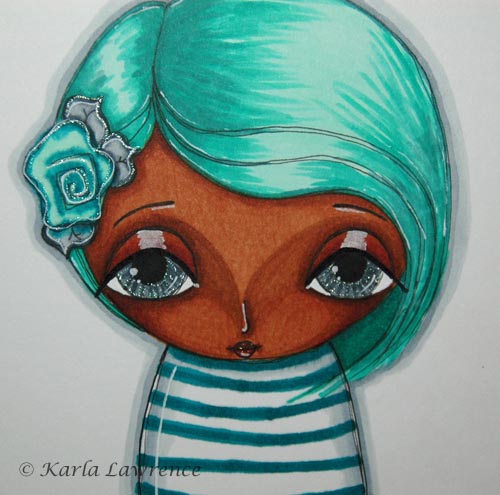
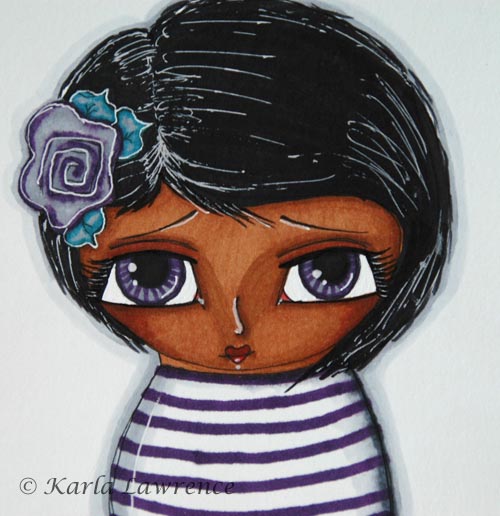
Hello everyone and happy Sunday. I'm a little under the weather today unfortunately and I think I'm getting a cold :(. Sigh, oh well. I'm not going to complain though because this is the first time in the season that I'm getting sick (which is really good for me!). I wanted to share my first pieces from an online class that I started taking a class by one of my favorite artists, Megan K Suarez. She makes a lot of cute and whimsical girl faces. If you like her style I encourage you take her new course, Whimsey Girls Workshop, which is really affordable and your able to keep the video tutorials forever! I really like that because you can go back and watch them again and again. This really gives you time to work at your own pace and really work on developing your style. I love how she uses copics for creating her girls so I was excited that I would be able to see how she does it! I really fell in love with the faces that I created during the 29 Faces Challenge , so I wanted to see if I could adapt her colors and find corresponding ones for brown skin. Here are the results of the first couple.
I used E33, E35 & E37 for the skin and then E09 to add a reddish tint to the cheeks, eyes, and lips. I really want to find some more colors for the cheeks as I feel that they came out a little heavy. If anyone knows of and copics that may have a reddish or orange tone that has some more transparency please let me know!
I always like to try to do things in my own way, but because I wanted to see if I could really understand her approach, the first girl is very much in Megan's style. For the 2nd girl, I began to see if I could adapt it to more of my style of girl, although I still decided to play around with a different nose and mouth. I am definitely going to be practicing a lot more, but I like my beginning process so far. These are different colors than I've used for my other faces, so I like that I'm going to be able to play around and start to experiment with slightly different shades of brown. Let me know what you think and feel free to ask me any questions if you'd like to know more about colors I've used. Don't forget that to learn this technique just go here to sign-up for the Whimsey Girls Workshop! I was feeling a little down over the weekend so decided to make some art to cheer myself up. This is what came out: 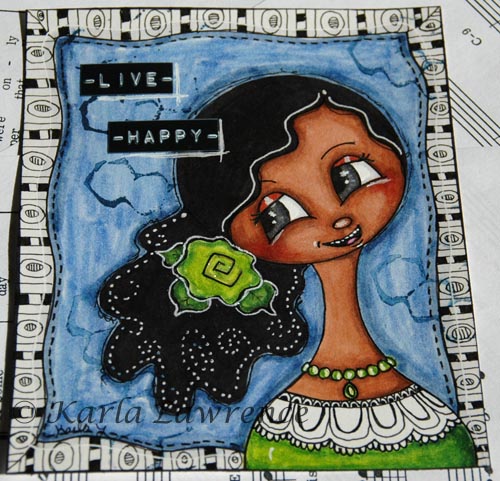
"Live Happy" 4"x5" mixed media on paper
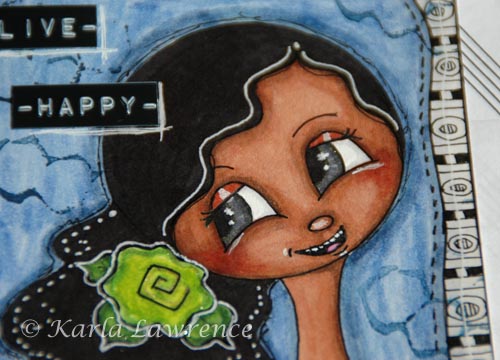
detail shot
Her silly grin made me smile, so I thought that the words "live happy" felt appropriate. Happiness is a choice. I know that it's okay for me to have down days every once in awhile because I know those are only temporary. I try to make a conscious daily decision to choose to be happy despite my circumstances. I think this little piece is a nice reminder for me to do just that!
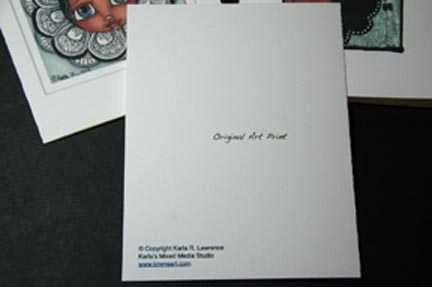
Do you work on your happiness on a regular basis? If so, what types of things help you do this? Hello everyone and happy Monday! I'm so excited about this latest work, that I decided to extend the sale. All purchases made between now and Thursday, March 7th by midnight will receive a 15% discount on your total purchase price! **15% Off of all Purchases Made by midnight March 7th**I also wanted to re-post the pictures of the cards and prints that I think came out a little more clearly than the ones I posted earlier. I'm still working on my lighting with the photography! 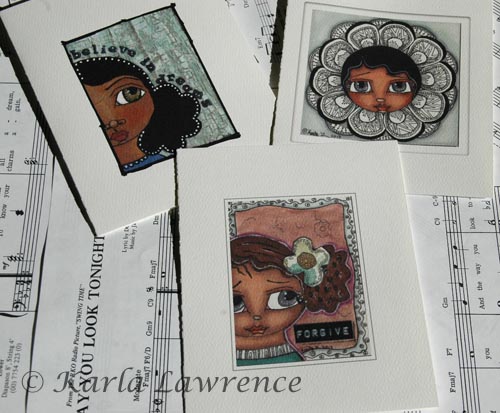 Sample blank note cards 4.25"x5.5"
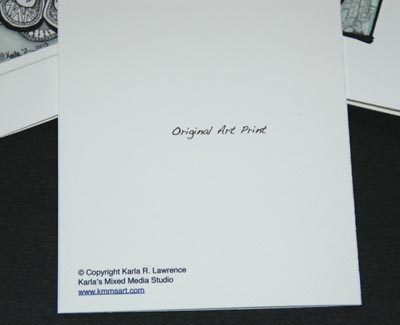 Back of the note card 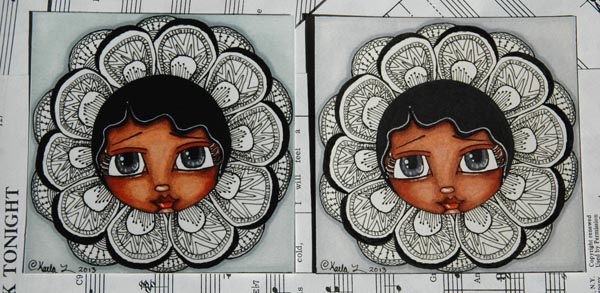 High quality print is on the left and the original is on the right Thank you again for all of your support. :)
Hello everyone!
I just wanted to share a link to a tutorial created by artist Tam at Willowing. It looks like a fun way to use collage to create an image. I definitely want to try this when I have some time. If you do try it let me know how it goes and please share pictures!. Click here to view the article. **One day Only Sale, 15% off before midnight!** |
About Me
Karla is a mixed media artist with a passion for creating art that is both whimsical and inspiring.
Archives
December 2014
     |
© Copyright 2012-2014 Karla R Lawrence
All rights reserved.


 RSS Feed
